![]() Get the latest version of Android on your phone on your own terms.
Update March 2018: We now have a whole new version of Android to try as the Android P Developer Preview has begun. All the steps and methods here still apply; the only difference is if you're looking to sign up for the Android Beta Program, when it begins, you'll get P and not O. And hey, if you're looking to be a beta tester you wanted the latest bleeding edge anyway, right?
We're also pretty sure these steps for manually flashing your phone aren't going to change once Android P (please let it be Pringles) becomes an official not-beta thing. We'll make sure to get everything up to date as soon as we have the skinny on it all, because we flash our phones on day one, too.
Now that we're well into the cycle of Android Oreo updates, Pixel and Nexus owners are clamoring to get the latest updates to Android 8.1 as soon as possible. But Google doesn't always push these over-the-air updates as soon as people would like, which is where this guide comes in. Using the tips below, you can sign up for the Android beta program*, sideload factory images, or OTA updates to your Nexus or Pixel device as soon as they are available.
These phones aren't just bought by developers. If there's a single reason for consumers to buy a Pixel or keep using a Nexus device, it's this: the newest software first. Period.
The easiest way
A few things to know
Unlocking your bootloader
Flashing the stock Nexus or Pixel image
Flashing the OTA update image
The Beta program
Get the latest version of Android on your phone on your own terms.
Update March 2018: We now have a whole new version of Android to try as the Android P Developer Preview has begun. All the steps and methods here still apply; the only difference is if you're looking to sign up for the Android Beta Program, when it begins, you'll get P and not O. And hey, if you're looking to be a beta tester you wanted the latest bleeding edge anyway, right?
We're also pretty sure these steps for manually flashing your phone aren't going to change once Android P (please let it be Pringles) becomes an official not-beta thing. We'll make sure to get everything up to date as soon as we have the skinny on it all, because we flash our phones on day one, too.
Now that we're well into the cycle of Android Oreo updates, Pixel and Nexus owners are clamoring to get the latest updates to Android 8.1 as soon as possible. But Google doesn't always push these over-the-air updates as soon as people would like, which is where this guide comes in. Using the tips below, you can sign up for the Android beta program*, sideload factory images, or OTA updates to your Nexus or Pixel device as soon as they are available.
These phones aren't just bought by developers. If there's a single reason for consumers to buy a Pixel or keep using a Nexus device, it's this: the newest software first. Period.
The easiest way
A few things to know
Unlocking your bootloader
Flashing the stock Nexus or Pixel image
Flashing the OTA update image
The Beta program
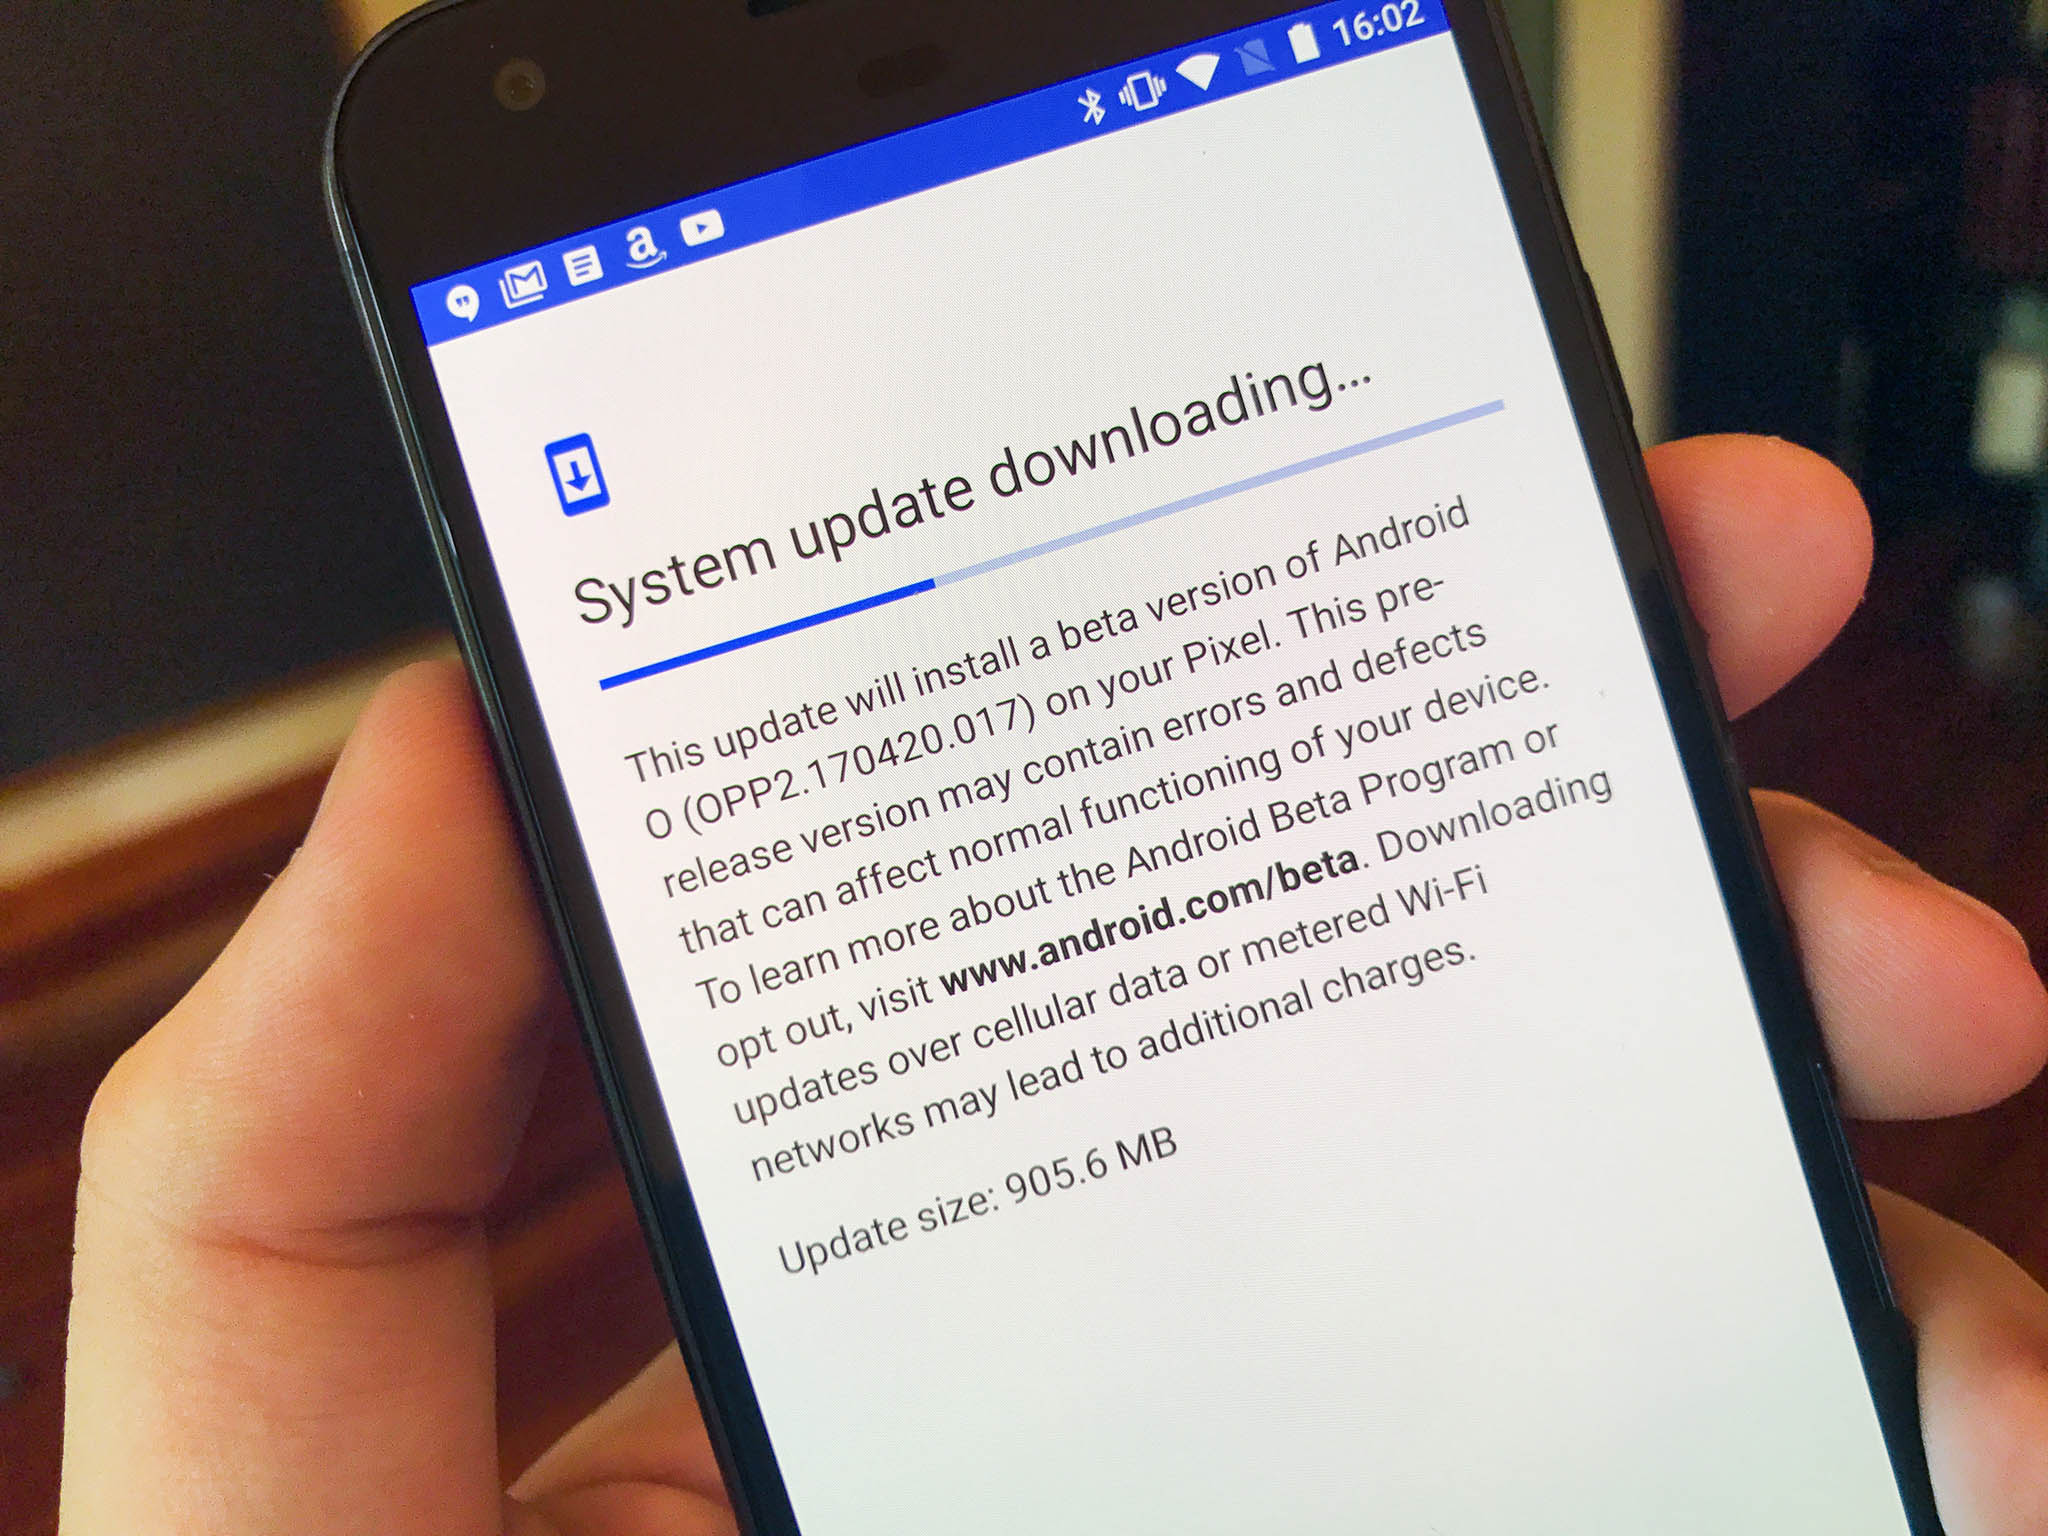 If you don't want to mess with unlocking your bootloader or the command line, you will get an update to the latest version of Android if you're part of the Android Beta program. That means that if you have one of the eligible devices, you can simply visit the Android Beta portal and opt-in to the beta, which will then prompt Google to send your phone or tablet an over-the-air update.
Right now, the beta program is closed. When the beta program is active for Android P, you can sign up to get the latest builds over-the-air.
Head to Android Beta program portal on your Pixel or Nexus phone..
Sign into the Google account associated with that phone.
Scroll down to Your eligible devices.
Find the device you want to enrol in the Beta program and tap Enrol device.
Follow the prompts to accept the over-the-air download.
Note: To leave the beta program, simply press the button on the Android Beta program page to unenroll. Your phone will receive an over-the-air update to return to the latest stable version of Android, but your phone will be wiped clean upon rebooting, so back up your stuff.
Which devices are eligible for the Android beta program?
The preview is supported on the following phones and tablets:
Pixel 2
Pixel 2 XL
Pixel
Pixel XL
If you can't wait, sideload
If you simply can't wait for the Android beta, flashing the new version of Android is going to be your best bet.
But before we go into the steps of sideloading Android updates, it is strongly recommended that you have previous knowledge of working with the Android SDK (software development kit) and Terminal (OS X or Linux) or Command Prompt (Windows), as it is possible to harm your device if something were to go wrong in the following process.
If you need to download the Android SDK you can grab it from the Android Development website and follow their instructions on how to install it correctly. For the following process, all you will need is the adb and fastboot files which are located in the Platform Tools folder.
Additionally, all the following commands are written as they would be in Terminal on a Linux or OS X platform. If you are following this guide and using a Windows machine, you will not need to use the "./" seen in the guide.
Enable developer settings and USB debugging
Go to your Settings and scroll down to About Phone/Tablet.
Tap on the Build number seven times until the dialog box says you are now a developer.
Go back to the Settings menu and you should find a new option called Developer options. Click into the Developer options.
Make sure that the developer options are turned on and that USB debugging is checked on.
If you're upgrading a device running Lollipop or higher, make sure Enable OEM unlock is checked.
Plug your device into your computer and click "OK" on the dialog box asking you to Allow USB debugging while connected to the computer. You can also select to always allow access on that computer.
If done correctly, this will be everything you will need to do on your phone or tablet for the moment.
Unlocking your bootloader
Nexus devices and Pixel phones bought from Google directly have a bootloader you can unlock. If you want to manually flash software, you'll need to do this.
To do this you must first boot into your bootloader. You can either manually turn off your phone or tablet and hold down the power button and the volume down button to enter your device's Bootloader Menu or you can enter the following commands into your terminal or command prompt.
Run the following command to make sure your device is properly connected to your computer. If it returns a string of characters it means that you are all set to start updating your device.
./adb devices
Now to enter into the Bootloader menu just run the following command.
./adb reboot bootloader
At the bottom of the screen, there will be several things listed including the lock state of the device. This should say locked unless you have unlocked your bootloader in the past and never went back and locked it again.
To unlock your bootloader, which is required only when flashing a stock firmware image (not sideloading and update, which we'll get to soon), you must enter the following commands. Remember that when unlocking your Nexus' bootloader it will factory reset your device, so you will lose everything stored on it. If you have not yet backed up anything important on your device you can hit the power button while Start is highlighted in the Bootloader menu and this will boot you back into your device like normal. Now back to unlocking your bootloader.
Now type:
./fastboot flashing unlock
A dialog will appear on the device asking if you are sure about unlocking. Again this will factory reset your device, so if you want to back out of the process you just need to select no with the power button. If you are ready to unlock your bootloader you press the volume up button and then the power button to confirm that you wish to unlock your bootloader.
./fastboot reboot-bootloader
It is recommended to reboot the bootloader just to give itself a check to make sure everything is working correctly before moving on to the next step.
Flashing the stock firmware image
Now that your bootloader is unlocked, it's time to flash the new firmware. To find the system images, head on over to the Factory Images page, find your device, and download the latest factory image available. It is easiest to then uncompress the file in the Platform Tools folder where the adb and fastboot files are so that you don't have to type the path to the different files when flashing the firmware. (Or if you know that you can drag a file into a terminal window to copy the path, just do that.)
To begin, make sure you are still in the bootloader menu on your device and double check that your bootloader is in fact unlocked.
First, make sure that your computer is communicating correctly with your phone or tablet. As long as your device's serial number comes back as a connected device you are ready to begin updating your device.
./fastboot devices
Now it is time to flash the updated bootloader with the following command.
./fastboot flash bootloader [bootloader file].img
You will not see anything on the screen of your device but there should be a dialog in your terminal or command prompt. When it is done flashing the bootloader you should reboot back into the bootloader as to make sure everything is still working correctly.
./fastboot reboot-bootloader
Next, you flash the updated radios. This step is only necessary if you are updating the firmware of a phone or tablet that has cellular radios built into it.
./fastboot flash radio [radio file].img
./fastboot reboot-bootloader
Finally, it's time to flash the actual system image to your phone or tablet.
Warning: The following line of code will wipe your device. If you do **not* want your device to be wiped, remove the "-w" from the command. The update should still take just fine, and it will not wipe your user data.
./fastboot -w update [image file].zip
When this is done, your phone will restart itself and boot up normally. As this process clears all data from your device, it will take slightly longer for your device to boot up for the first time. Once you have been greeted with the device setup walkthrough process, you know you have successfully flashed a new version of the firmware.
If you do not want to enter the commands manually there are scripts included inside the compressed folder containing the system image that will do most but not all of the heavy lifting for you. The flash-all script files will automate the flashing of the bootloader, radios (if needed), and the system image. The problem with this process is that you must first make sure that your phone is in the bootloader menu and its bootloader must be unlocked before starting the script. Of course, if these are not already done the script will fail to run and nothing will happen.
Flashing an OTA update image
If you don't want to unlock your bootloader, you can sideload an OTA update. That is, you're going to download to a computer the update file your phone normally would grab itself over the air (thus OTA), and then push it over via the command line.
It used to be that we'd have to hunt for the OTA file location when a phone would download it, and use that to pull the file from Google's servers. And we can still do that if we want ... but Google now provides OTA images for download. (You can find them here). This is a smaller file that just brings you from the previous version to the latest version — it isn't a complete operating system that could be loaded onto a phone fresh.
Just as is the case with the factory image update, put the OTA file in the Platform Tools directory to simplify the process of sending the file to your phone.
First, make sure that your computer is communicating correctly with your phone or tablet. As long as your device's serial number comes back as a connected device you are ready to begin updating your device.
./adb devices
Next, put your device into the bootloader menu by either the following command or by holding down the power button and the volume down button while it is turned off.
./adb reboot bootloader
Now use the volume down button twice until you have scrolled to Recovery mode, and press the power button to select it. It will look like your phone is restarting itself but an image of an Android with a red exclamation mark over it will appear. Next hold down the power button and press the volume up button, and you will be in recovery mode.
Now that you are in the Android system recovery, use the volume down button to highlight apply update from ADB and press the power button to select it. The text on your Nexus' screen will now say that you can send the OTA to the device using adb.
./adb sideload [OTA file].zip
In your terminal or command prompt you will see a dialog that shows you the progress of transferring the update to your phone or tablet and once it has been completely transferred you can read what is happening with the update live on screen. Again, once the process is done your phone will restart itself and attempt to boot normally. You have successfully updated!
Getting the newest software updates on your Nexus or Pixel is easy to do but understandably difficult the first time. Once you've gone through this process several times it will become second nature to you, so don't be discouraged. Luckily Nexus devices are extremely easy to get back into working order if something gets installed wrong or flashed incorrectly — so don't be alarmed if you've pressed the wrong button.
If you have any trouble along the way, be sure to hop into the forums and ask for help!
Update, March 2018: This post was updated with current links to the Android P Developer Preview.
Android Oreo
Android Oreo review!
Everything new in Android Oreo
How to get Android Oreo on your Pixel or Nexus
Oreo will make you love notifications again
Will my phone get Android Oreo?
Join the Discussion
If you don't want to mess with unlocking your bootloader or the command line, you will get an update to the latest version of Android if you're part of the Android Beta program. That means that if you have one of the eligible devices, you can simply visit the Android Beta portal and opt-in to the beta, which will then prompt Google to send your phone or tablet an over-the-air update.
Right now, the beta program is closed. When the beta program is active for Android P, you can sign up to get the latest builds over-the-air.
Head to Android Beta program portal on your Pixel or Nexus phone..
Sign into the Google account associated with that phone.
Scroll down to Your eligible devices.
Find the device you want to enrol in the Beta program and tap Enrol device.
Follow the prompts to accept the over-the-air download.
Note: To leave the beta program, simply press the button on the Android Beta program page to unenroll. Your phone will receive an over-the-air update to return to the latest stable version of Android, but your phone will be wiped clean upon rebooting, so back up your stuff.
Which devices are eligible for the Android beta program?
The preview is supported on the following phones and tablets:
Pixel 2
Pixel 2 XL
Pixel
Pixel XL
If you can't wait, sideload
If you simply can't wait for the Android beta, flashing the new version of Android is going to be your best bet.
But before we go into the steps of sideloading Android updates, it is strongly recommended that you have previous knowledge of working with the Android SDK (software development kit) and Terminal (OS X or Linux) or Command Prompt (Windows), as it is possible to harm your device if something were to go wrong in the following process.
If you need to download the Android SDK you can grab it from the Android Development website and follow their instructions on how to install it correctly. For the following process, all you will need is the adb and fastboot files which are located in the Platform Tools folder.
Additionally, all the following commands are written as they would be in Terminal on a Linux or OS X platform. If you are following this guide and using a Windows machine, you will not need to use the "./" seen in the guide.
Enable developer settings and USB debugging
Go to your Settings and scroll down to About Phone/Tablet.
Tap on the Build number seven times until the dialog box says you are now a developer.
Go back to the Settings menu and you should find a new option called Developer options. Click into the Developer options.
Make sure that the developer options are turned on and that USB debugging is checked on.
If you're upgrading a device running Lollipop or higher, make sure Enable OEM unlock is checked.
Plug your device into your computer and click "OK" on the dialog box asking you to Allow USB debugging while connected to the computer. You can also select to always allow access on that computer.
If done correctly, this will be everything you will need to do on your phone or tablet for the moment.
Unlocking your bootloader
Nexus devices and Pixel phones bought from Google directly have a bootloader you can unlock. If you want to manually flash software, you'll need to do this.
To do this you must first boot into your bootloader. You can either manually turn off your phone or tablet and hold down the power button and the volume down button to enter your device's Bootloader Menu or you can enter the following commands into your terminal or command prompt.
Run the following command to make sure your device is properly connected to your computer. If it returns a string of characters it means that you are all set to start updating your device.
./adb devices
Now to enter into the Bootloader menu just run the following command.
./adb reboot bootloader
At the bottom of the screen, there will be several things listed including the lock state of the device. This should say locked unless you have unlocked your bootloader in the past and never went back and locked it again.
To unlock your bootloader, which is required only when flashing a stock firmware image (not sideloading and update, which we'll get to soon), you must enter the following commands. Remember that when unlocking your Nexus' bootloader it will factory reset your device, so you will lose everything stored on it. If you have not yet backed up anything important on your device you can hit the power button while Start is highlighted in the Bootloader menu and this will boot you back into your device like normal. Now back to unlocking your bootloader.
Now type:
./fastboot flashing unlock
A dialog will appear on the device asking if you are sure about unlocking. Again this will factory reset your device, so if you want to back out of the process you just need to select no with the power button. If you are ready to unlock your bootloader you press the volume up button and then the power button to confirm that you wish to unlock your bootloader.
./fastboot reboot-bootloader
It is recommended to reboot the bootloader just to give itself a check to make sure everything is working correctly before moving on to the next step.
Flashing the stock firmware image
Now that your bootloader is unlocked, it's time to flash the new firmware. To find the system images, head on over to the Factory Images page, find your device, and download the latest factory image available. It is easiest to then uncompress the file in the Platform Tools folder where the adb and fastboot files are so that you don't have to type the path to the different files when flashing the firmware. (Or if you know that you can drag a file into a terminal window to copy the path, just do that.)
To begin, make sure you are still in the bootloader menu on your device and double check that your bootloader is in fact unlocked.
First, make sure that your computer is communicating correctly with your phone or tablet. As long as your device's serial number comes back as a connected device you are ready to begin updating your device.
./fastboot devices
Now it is time to flash the updated bootloader with the following command.
./fastboot flash bootloader [bootloader file].img
You will not see anything on the screen of your device but there should be a dialog in your terminal or command prompt. When it is done flashing the bootloader you should reboot back into the bootloader as to make sure everything is still working correctly.
./fastboot reboot-bootloader
Next, you flash the updated radios. This step is only necessary if you are updating the firmware of a phone or tablet that has cellular radios built into it.
./fastboot flash radio [radio file].img
./fastboot reboot-bootloader
Finally, it's time to flash the actual system image to your phone or tablet.
Warning: The following line of code will wipe your device. If you do **not* want your device to be wiped, remove the "-w" from the command. The update should still take just fine, and it will not wipe your user data.
./fastboot -w update [image file].zip
When this is done, your phone will restart itself and boot up normally. As this process clears all data from your device, it will take slightly longer for your device to boot up for the first time. Once you have been greeted with the device setup walkthrough process, you know you have successfully flashed a new version of the firmware.
If you do not want to enter the commands manually there are scripts included inside the compressed folder containing the system image that will do most but not all of the heavy lifting for you. The flash-all script files will automate the flashing of the bootloader, radios (if needed), and the system image. The problem with this process is that you must first make sure that your phone is in the bootloader menu and its bootloader must be unlocked before starting the script. Of course, if these are not already done the script will fail to run and nothing will happen.
Flashing an OTA update image
If you don't want to unlock your bootloader, you can sideload an OTA update. That is, you're going to download to a computer the update file your phone normally would grab itself over the air (thus OTA), and then push it over via the command line.
It used to be that we'd have to hunt for the OTA file location when a phone would download it, and use that to pull the file from Google's servers. And we can still do that if we want ... but Google now provides OTA images for download. (You can find them here). This is a smaller file that just brings you from the previous version to the latest version — it isn't a complete operating system that could be loaded onto a phone fresh.
Just as is the case with the factory image update, put the OTA file in the Platform Tools directory to simplify the process of sending the file to your phone.
First, make sure that your computer is communicating correctly with your phone or tablet. As long as your device's serial number comes back as a connected device you are ready to begin updating your device.
./adb devices
Next, put your device into the bootloader menu by either the following command or by holding down the power button and the volume down button while it is turned off.
./adb reboot bootloader
Now use the volume down button twice until you have scrolled to Recovery mode, and press the power button to select it. It will look like your phone is restarting itself but an image of an Android with a red exclamation mark over it will appear. Next hold down the power button and press the volume up button, and you will be in recovery mode.
Now that you are in the Android system recovery, use the volume down button to highlight apply update from ADB and press the power button to select it. The text on your Nexus' screen will now say that you can send the OTA to the device using adb.
./adb sideload [OTA file].zip
In your terminal or command prompt you will see a dialog that shows you the progress of transferring the update to your phone or tablet and once it has been completely transferred you can read what is happening with the update live on screen. Again, once the process is done your phone will restart itself and attempt to boot normally. You have successfully updated!
Getting the newest software updates on your Nexus or Pixel is easy to do but understandably difficult the first time. Once you've gone through this process several times it will become second nature to you, so don't be discouraged. Luckily Nexus devices are extremely easy to get back into working order if something gets installed wrong or flashed incorrectly — so don't be alarmed if you've pressed the wrong button.
If you have any trouble along the way, be sure to hop into the forums and ask for help!
Update, March 2018: This post was updated with current links to the Android P Developer Preview.
Android Oreo
Android Oreo review!
Everything new in Android Oreo
How to get Android Oreo on your Pixel or Nexus
Oreo will make you love notifications again
Will my phone get Android Oreo?
Join the Discussion
source: https://www.androidcentral.com/how-manually-upgrade-pixel-nexus
date: Mon, 02 Apr 2018 20:59:00 +0000
Comments
Post a Comment