 It might be tempting to get a new phone if you smash the back on your Galaxy S7. But it's a lot cheaper to just replace the glass yourself.
Glass-backed phones are inherently more fragile than their plastic or metal-backed counterparts. Glass is more slippery, phones are more prone to just slide off surfaces, and while metal or plastic will chip, glass will crack and shatter.
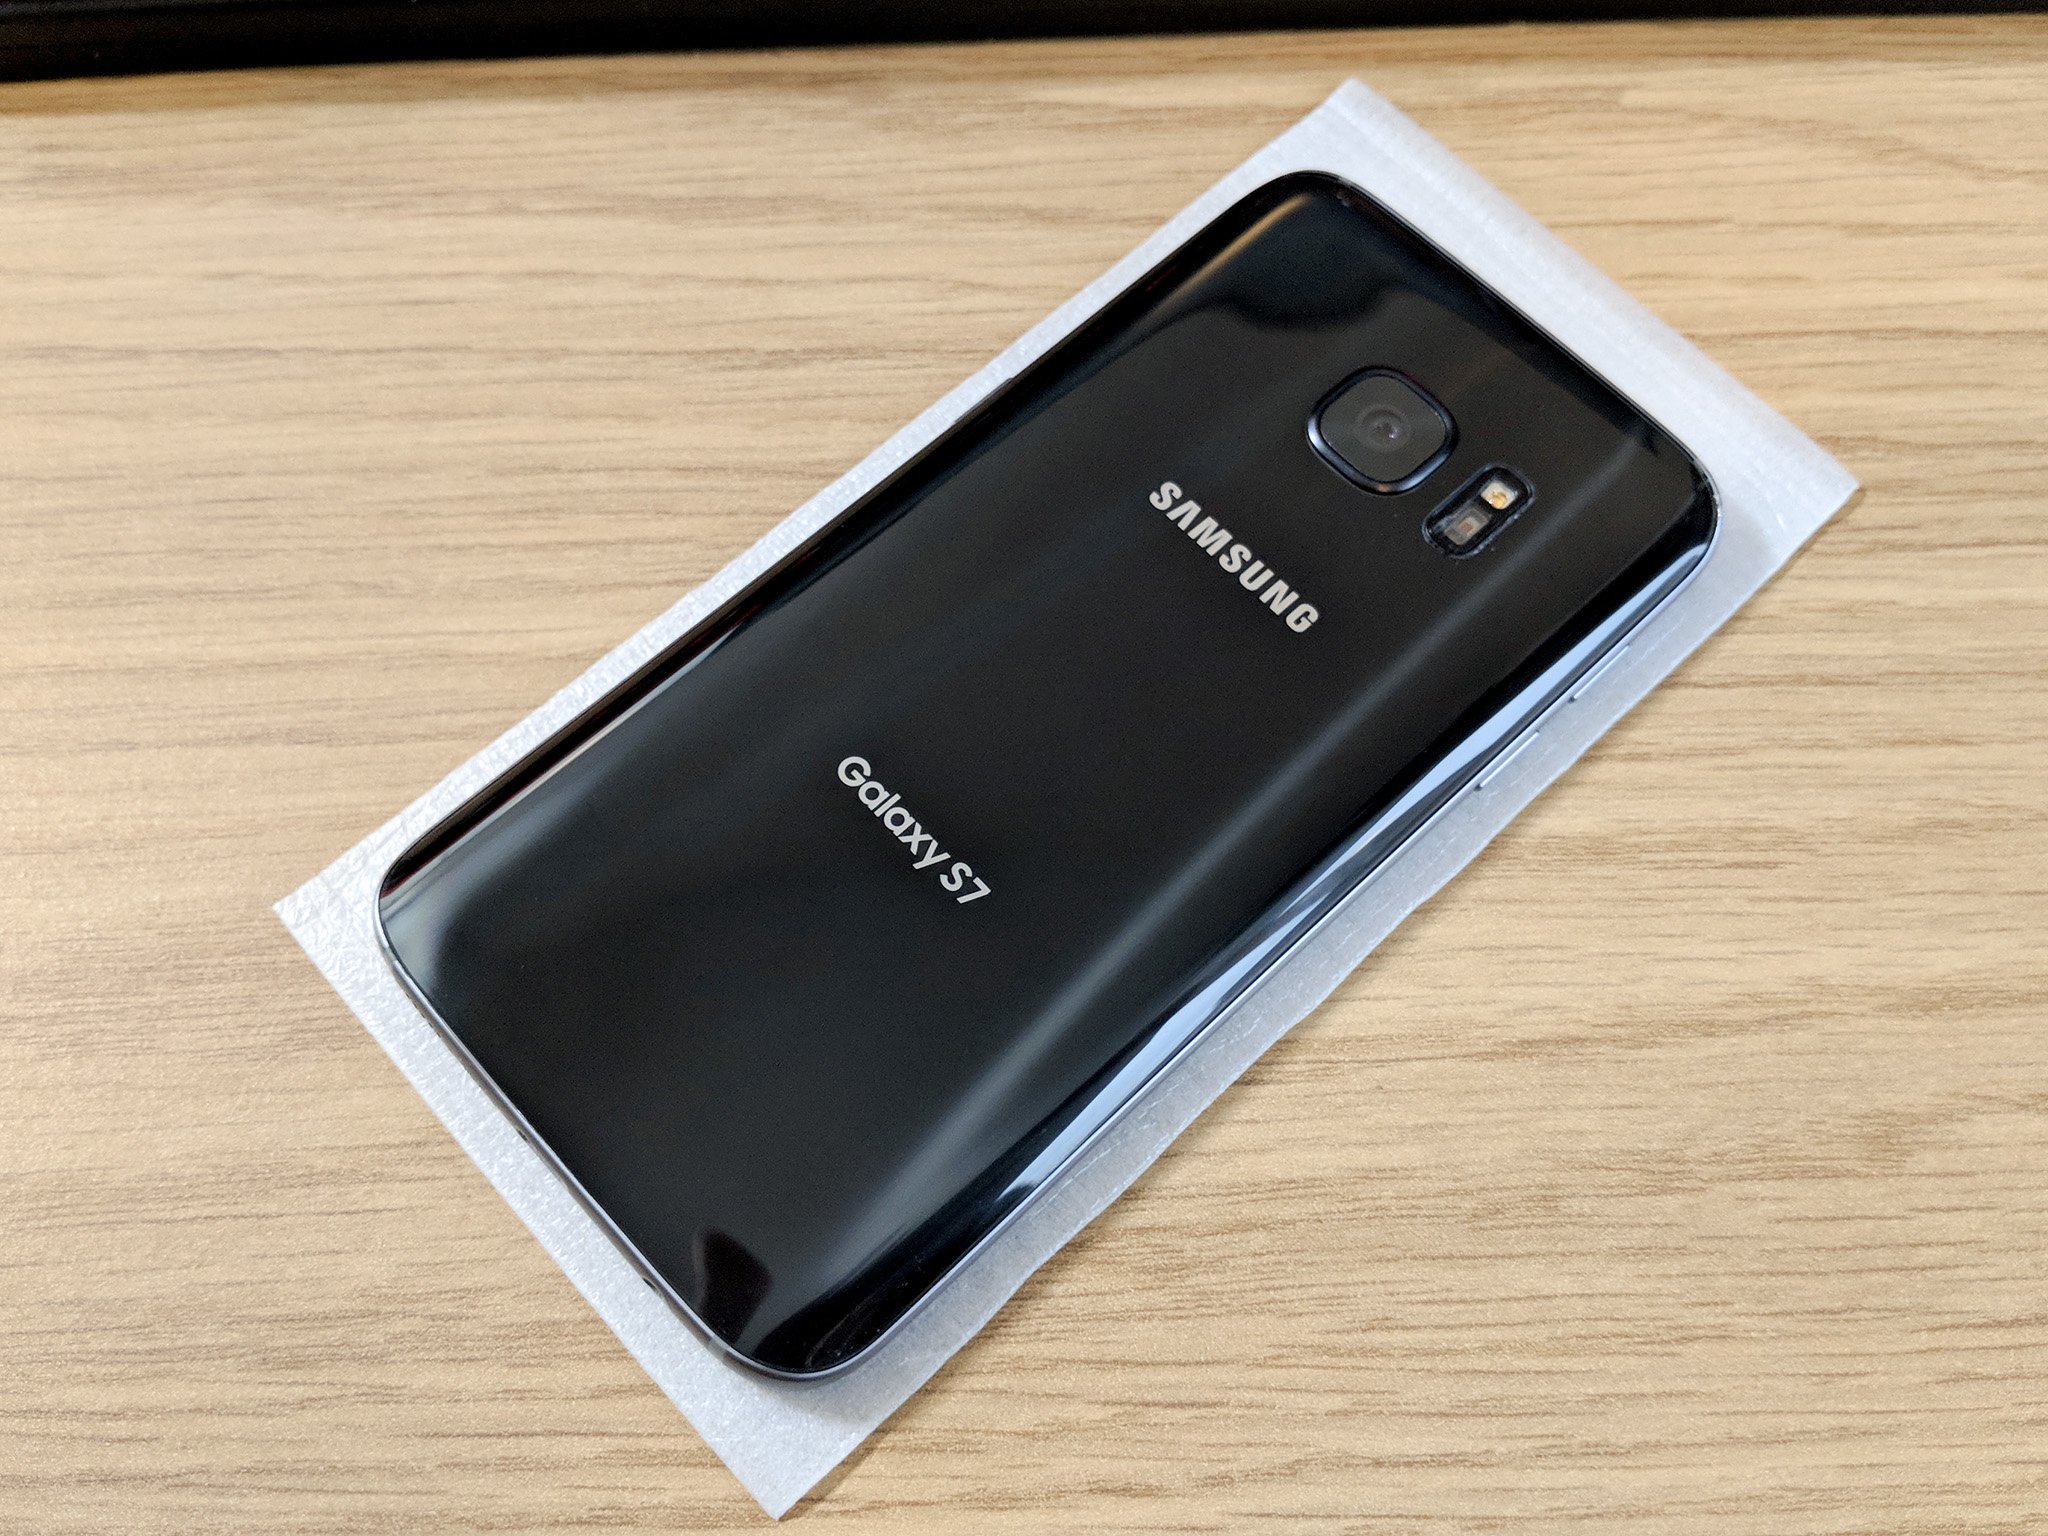
That's exactly what happened to my Samsung Galaxy S7, and while the Galaxy S8 is here and the Galaxy S9 won't be too far away, the S7 is still a very good phone worth saving.
Replacing the front glass is a different story, but if all that's wrong with your phone is some shattering on the back, you can fix it yourself relatively quickly and very cheaply.
It's also worth pointing out that any kind of self-repair is probably going to affect the phone's water resistance. So don't go dunking it afterwards.
What you'll need
It might be tempting to get a new phone if you smash the back on your Galaxy S7. But it's a lot cheaper to just replace the glass yourself.
Glass-backed phones are inherently more fragile than their plastic or metal-backed counterparts. Glass is more slippery, phones are more prone to just slide off surfaces, and while metal or plastic will chip, glass will crack and shatter.
That's exactly what happened to my Samsung Galaxy S7, and while the Galaxy S8 is here and the Galaxy S9 won't be too far away, the S7 is still a very good phone worth saving.
Replacing the front glass is a different story, but if all that's wrong with your phone is some shattering on the back, you can fix it yourself relatively quickly and very cheaply.
It's also worth pointing out that any kind of self-repair is probably going to affect the phone's water resistance. So don't go dunking it afterwards.
What you'll need
 Obviously, the first thing you need is a new back. These aren't particularly expensive, and I got mine from Amazon for about £20 ($26). This also included a basic tool kit, which includes some small screwdrivers, a suction cup, and some plastic pry tools. You may or may not need to use these as you'll see later on.
When choosing a back, also make sure to choose one with adhesive pre-applied. Because otherwise you'll have to do this yourself and it's honestly not something you should have to deal with. They're no more expensive with adhesive, just be sure to choose the right one.
It's also worth noting that there will be a bunch out there that aren't the exact Samsung replacement parts. The one I linked above is the same exact back I used in this guide and while the black color match is perfect, it doesn't make it an OEM part. I'm fine with it, but if you're not then be sure to hunt down a genuine Samsung part.
I also recommend acquiring a replacement camera lens and housing. You don't need to do this, but you'll have to remove it from the old back and adhere it to the new one. It's also pretty easy to bend, so for the few bucks it costs for one of these it's worth doing. You'll also get some fresh adhesive so it's easy to apply.
The main tool you'll need is a heat gun. If you don't have one of these a hair dryer will work just fine.
How to remove the back glass on the Galaxy S7
Follow these steps to first remove the existing back from your Galaxy S7.
Apply heat around the edges of the phone to soften the existing adhesive. It helps to focus on one area first that you intend to pry the back up from.
Obviously, the first thing you need is a new back. These aren't particularly expensive, and I got mine from Amazon for about £20 ($26). This also included a basic tool kit, which includes some small screwdrivers, a suction cup, and some plastic pry tools. You may or may not need to use these as you'll see later on.
When choosing a back, also make sure to choose one with adhesive pre-applied. Because otherwise you'll have to do this yourself and it's honestly not something you should have to deal with. They're no more expensive with adhesive, just be sure to choose the right one.
It's also worth noting that there will be a bunch out there that aren't the exact Samsung replacement parts. The one I linked above is the same exact back I used in this guide and while the black color match is perfect, it doesn't make it an OEM part. I'm fine with it, but if you're not then be sure to hunt down a genuine Samsung part.
I also recommend acquiring a replacement camera lens and housing. You don't need to do this, but you'll have to remove it from the old back and adhere it to the new one. It's also pretty easy to bend, so for the few bucks it costs for one of these it's worth doing. You'll also get some fresh adhesive so it's easy to apply.
The main tool you'll need is a heat gun. If you don't have one of these a hair dryer will work just fine.
How to remove the back glass on the Galaxy S7
Follow these steps to first remove the existing back from your Galaxy S7.
Apply heat around the edges of the phone to soften the existing adhesive. It helps to focus on one area first that you intend to pry the back up from.
 Using a suction cup or a pry tool, work the back away from the phone on one edge.
 Don't expect much, all you're trying to do first is get a small area to separate so you can move on. In my case, I ended up using a very small flathead screwdriver on the damaged corner.
Once you have an edge to work with, insert something stiff, like a business card, to keep it from settling back down on the phone.
Repeat the steps above to heat, lift and separate the back from the phone, being careful not to damage anything inside the phone.
Don't expect much, all you're trying to do first is get a small area to separate so you can move on. In my case, I ended up using a very small flathead screwdriver on the damaged corner.
Once you have an edge to work with, insert something stiff, like a business card, to keep it from settling back down on the phone.
Repeat the steps above to heat, lift and separate the back from the phone, being careful not to damage anything inside the phone.
 When you've pryed the back off entirely you'll be looking at something like the image above. Ensure you've removed all the adhesive and any colored film that came away from the phone before you move on.
If you're going to try and reuse your camera lens and housing, you'll need to follow the steps above to heat and separate this from your existing glass back. Since my camera lens was smashed anyway I automatically went with a replacement part, but if you're reusing be careful not to bend it otherwise it won't sit back in properly when you reassemble the phone.
Rebuilding the phone
When you've pryed the back off entirely you'll be looking at something like the image above. Ensure you've removed all the adhesive and any colored film that came away from the phone before you move on.
If you're going to try and reuse your camera lens and housing, you'll need to follow the steps above to heat and separate this from your existing glass back. Since my camera lens was smashed anyway I automatically went with a replacement part, but if you're reusing be careful not to bend it otherwise it won't sit back in properly when you reassemble the phone.
Rebuilding the phone
 The end result!
Now comes, technically, the easier part. Because the fresh parts already have their adhesive applied, it's a case of sticking everything back together.
A word of caution though: Remember the back of this phone is glass. If you're too rough or press too hard, expect it to break. I speak from experience.
First, attach the camera lens and housing to the new glass back. It's impossible to get it in the wrong place, just make sure to press it down and that it has a nice tight seal.
The end result!
Now comes, technically, the easier part. Because the fresh parts already have their adhesive applied, it's a case of sticking everything back together.
A word of caution though: Remember the back of this phone is glass. If you're too rough or press too hard, expect it to break. I speak from experience.
First, attach the camera lens and housing to the new glass back. It's impossible to get it in the wrong place, just make sure to press it down and that it has a nice tight seal.
 Wipe down the inside surface of the new glass back. This is the last chance to remove any grease or dust before it goes down on the phone.
 Remove the plastic from the adhesive around the edges.
Line up the back on the phone, and gently place it down.
Press down firmly around the edges only.
From here on out just peel off all the protective plastic on the outside and you're good to go. It's probably a good idea to rub round the edges with a microfiber cloth, too, as you may have some traces of adhesive to get rid of. Otherwise you'll now have a shiny, crack free Galaxy S7!
Samsung Galaxy S7 and S7 edge
Galaxy S7 review
Galaxy S7 edge review
U.S. unlocked Galaxy S7
Should you upgrade to the Galaxy S7?
Best SD cards for Galaxy S7
Join our Galaxy S7 forums
Unlocked
AT&T
Sprint
T-Mobile
Verizon
Remove the plastic from the adhesive around the edges.
Line up the back on the phone, and gently place it down.
Press down firmly around the edges only.
From here on out just peel off all the protective plastic on the outside and you're good to go. It's probably a good idea to rub round the edges with a microfiber cloth, too, as you may have some traces of adhesive to get rid of. Otherwise you'll now have a shiny, crack free Galaxy S7!
Samsung Galaxy S7 and S7 edge
Galaxy S7 review
Galaxy S7 edge review
U.S. unlocked Galaxy S7
Should you upgrade to the Galaxy S7?
Best SD cards for Galaxy S7
Join our Galaxy S7 forums
Unlocked
AT&T
Sprint
T-Mobile
Verizon
source: https://www.androidcentral.com/how-replace-back-glass-samsung-galaxy-s7
date: Thu, 14 Dec 2017 15:00:02 +0000
You have worked nicely with your insights that makes our work easy. The information you have provided is genuinely explanatory and significant for us. Keep sharing these types of article, Thank you. Samsung Mobile Phone Repairs
ReplyDeleteYou've supplied us with an interesting article. This is a fantastic resource for expanding your understanding of the subject. Thank you very much for sharing about samsung s20 screen repair this blog.
ReplyDeleteThe information you've provided is quite useful. It's incredibly instructional because it provides some of the most useful information. Thank you for sharing about Professional cell phone repair service online LA HABRA in this blog.
ReplyDeleteExtremely useful information which you have shared here. This is a great way to enhance knowledge for us, and also helpful for us. Thankful to you for sharing an article like this. Cell Phone Repair Brick Nj
ReplyDeleteI'd like to express my gratitude for writing such a helpful article about Samsung Phone Screen Repair. This article provided me with some useful knowledge. Thank you for sharing that. Keep up the good work.
ReplyDeleteI admire this article for the well-researched content and excellent wording. Read more info about Mobile Phone Repair in USA. I got so involved in this material that I couldn’t stop reading. I am impressed with your work and skill. Thank you so much.
ReplyDelete